Apparently, being sick for 11 days wasn’t enough for my body. Oh, no. I just had to pick up the same cold/allergy issues again just a week later. Although I have a bunch of projects that I already started, I decided to pick up yet another. This time, one that I can do sitting down while sick. I bought this fabric a while back, waiting for downtime to get it done. A lazy Saturday night is as good a time as ever!
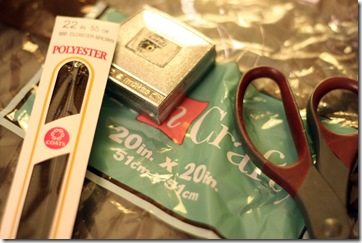
Supply wise, grab some matching thread, a tape measurer (or if you’re real fancy, an actual measuring board), scissors, matching zipper, pillow form and fabric. When I buy my fabric, I usually just stick with even 1 yard. Since I was making two 20” pillows, I got 2 yards of the zebra print. As for the zipper, just grab one that’s slightly longer than your pillow form measurement.
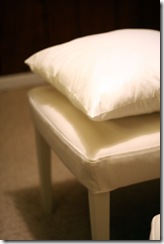
If you’re shorter than 5 foot like I am, use the pillow form as a booster seat to allow for optimal sewing views.
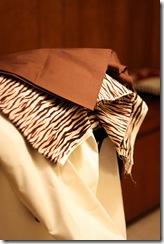
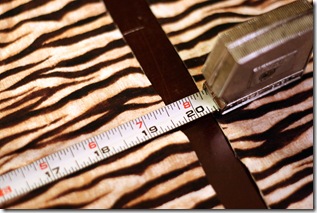
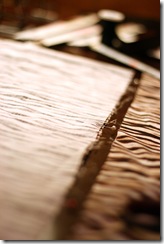
Measuring the fabric has been a lot of trial and error for me. Since I’m too impatient to Google it, I’ve found measuring the width of the fabric a half inch LESS than the measurements listed on the pillow form bag makes a nice snug case (this includes the 3/4 inch seam allowance). When you measure, use the natural crease of the fabric from the bolsters as your fourth side, and cut the other 3.
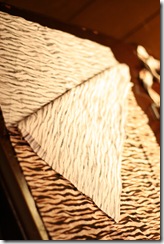
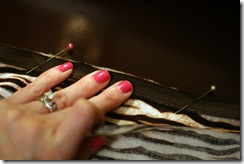
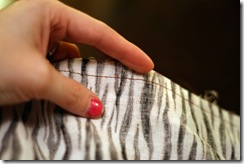
After you’ve cut your three sides, flip the fabric so it’s right sides together and pin the two sides leaving the top open for the zipper.
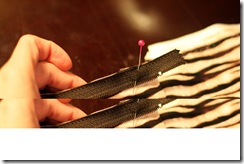
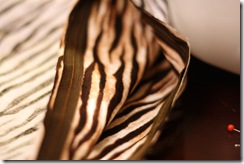
Now to pin the zipper. Lay the zipper face down and pin the edge of the zipper to the RIGHT side of the fabric. Repeat for the other side.
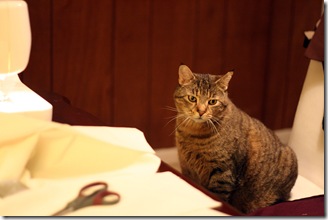
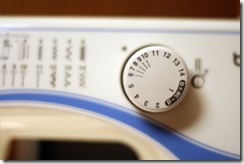
Set your machine to straight stitch. I use the longer setting, that has a nice tight stitch. Make sure your supervisor is content with your work ethic.
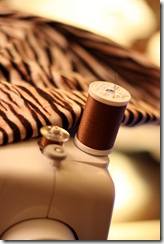
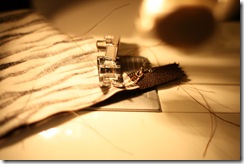
I hope your supervisor is as friendly as mine is. Now you can start sewing. Sew the zipper down first. I find the perfect stitch for the zipper portion is when you line the edges of the zipper with the edges of your foot (see how the thread lands right in the middle?). This leaves just the right amount of room for the zipper to move freely without ever catching. Then sew the two sides of your fabric so the stitch creates a stopping point for your zipper.
Just don’t leave your seat unattended while you take pictures for too long. Move your feet, lose your seat!
 Then you simply turn your case inside out, stuff your form inside, zip it up, and enjoy… er, let your cat enjoy your hard work.
 Each case, if done properly, takes about 20 minutes. It would probably take less time if I weren’t a perfectionist. Or stop every few minutes to pet my helpers.



No comments:
Post a Comment